Photography Safari Tips – Capture Olifants West Like a Professional
Photography Safari Tips
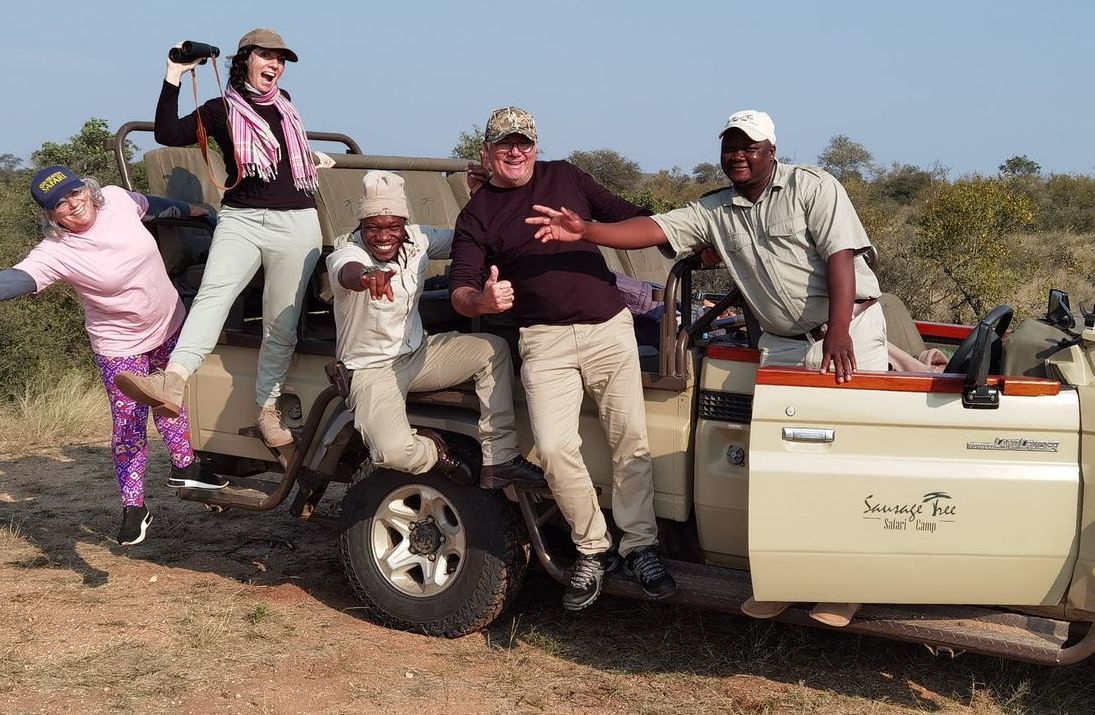
You've invested in a good camera. You've watched wildlife documentaries. You're excited.
Then you arrive at Sausage Tree, step into the vehicle, and immediately realize: wildlife photography is harder than it looks.
The light changes constantly. Animals move unpredictably. Your hands shake in the vehicle despite our adjustable camera/lens rests. That leopard you see perfectly is a blurry dot in your viewfinder. The moment you want to capture is gone before you adjust settings.
Here's what 14 years of hosting photographers has taught us: it's not about expensive gear. It's about understanding light, anticipating behavior, and positioning your camera—and yourself—thoughtfully.
Gear: What to Bring vs. What You Actually Need
If You're Serious About Photography
Bring: - DSLR or mirrorless camera (you own and trust) - Telephoto lens (100–400mm, this is essential for wildlife) - Wide-angle lens (16–35mm, for landscape context) - Standard lens (50–85mm, for wildlife behavior detail) - Extra batteries (2–3; the African sun drains them faster than you expect) - Memory cards (bring double what you think you need; they're cheap insurance) - Lens cleaning kit (microfiber cloths, lens pen, small blower) - Tripod or monopod (essential for stability, especially in moving vehicles)
Rent locally : - Super telephoto lens (500mm+ are expensive to travel with; many camps have them available) - Polarizing filter (reduces glare off water and sky) - Camera bag designed for safari (weatherproof, quick access, padded)
If You're Casual About Photography
- Bring your smartphone (modern phones are genuinely capable; iPhone and newer Android phones have sophisticated computational photography)
- Bring binoculars (more important than camera for casual photographers)
- Skip the heavy DSLR gear (unless you're truly passionate)
- You'll get stunning photos and won't be weighed down by equipment
One returning photographer shared: "First safari, I came with a full rig—two cameras, three lenses, tripod. I spent more time managing gear than experiencing moments. Second safari, I came with my iPhone and binoculars. The photos were just as good, and I actually lived the experience."
Camera Settings: The Practical Breakdown
For Wildlife Action (Predators, Hunts, Movement)
- Shutter speed: 1/1000 or faster (freeze motion)
- Aperture: f/5.6–f/8 (depth of field maintains focus across moving subjects)
- ISO: 800–3200 (higher in low light, accept the grain for sharp subject)
- Autofocus: Continuous (AI Servo for Canon, AF-C for Sony/Nikon)
- Burst mode: On (capture multiple frames, pick the sharpest)
Why these settings: Action requires speed. You're trading perfect sharpness for perfect timing.
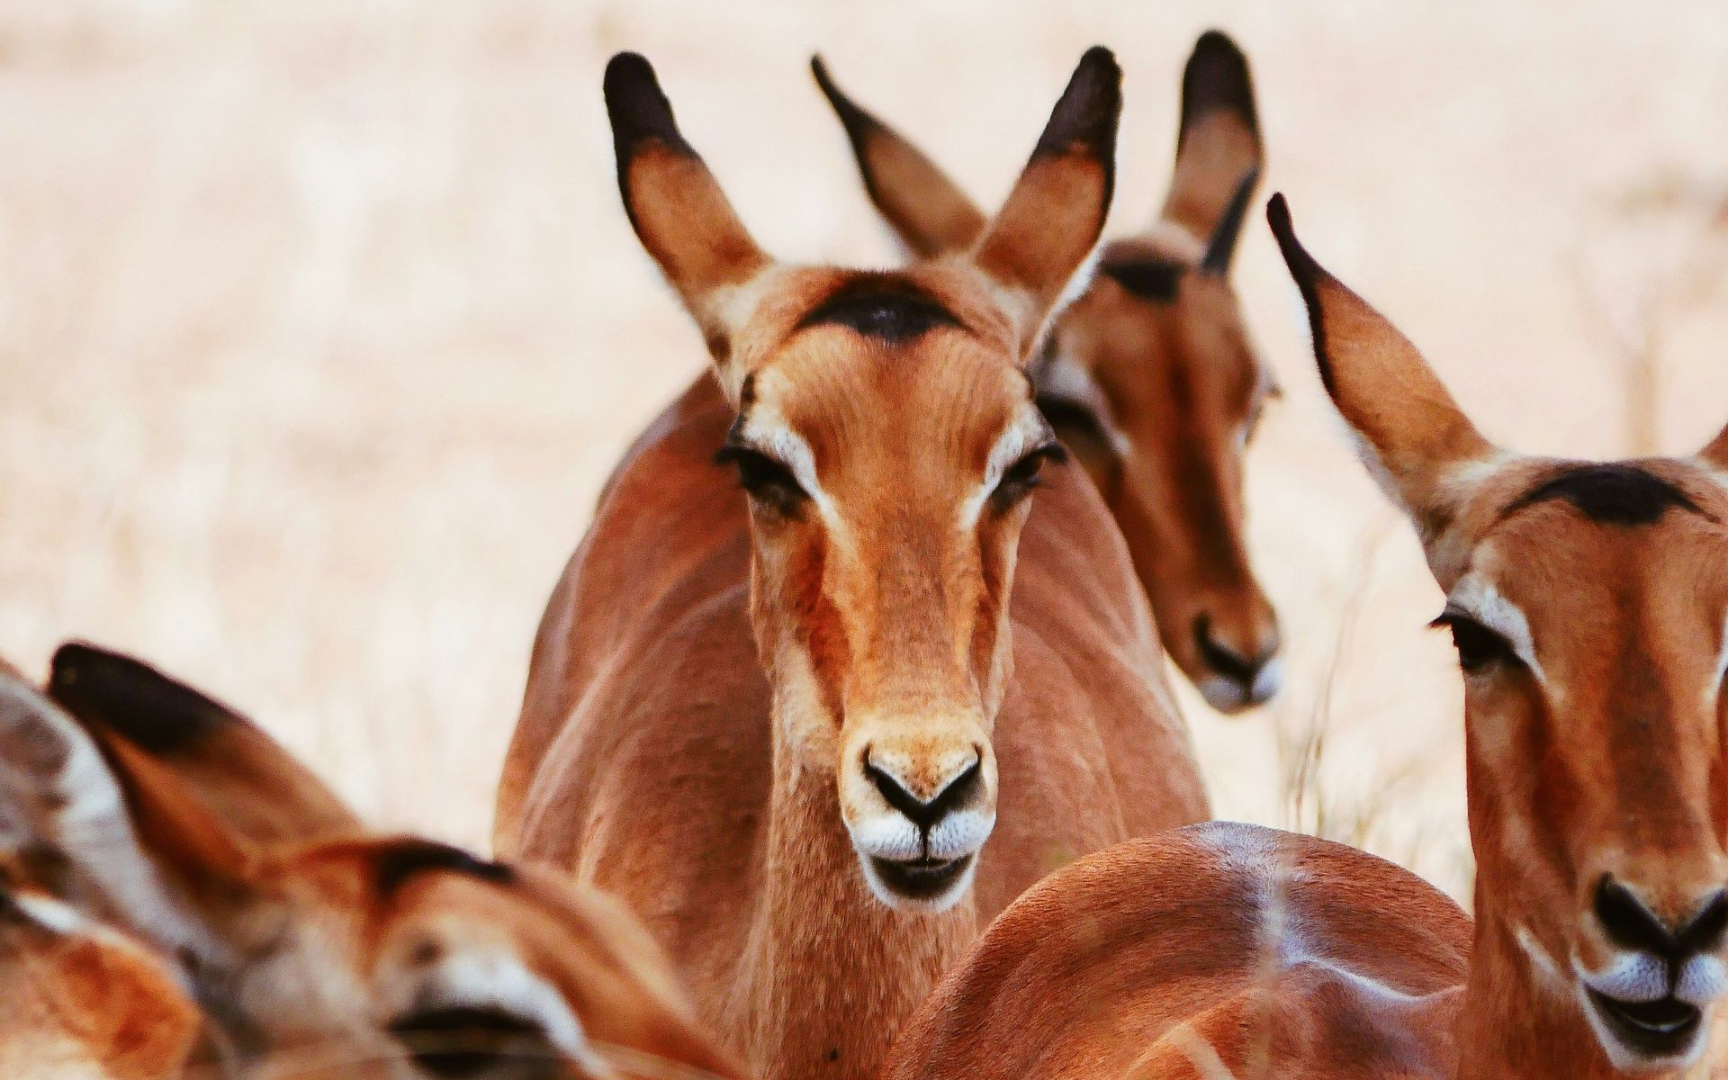
For Stationary Wildlife (Sleeping Lions, Grazing Antelope, Roosting Birds)
- Shutter speed: 1/500–1/1000 (still fast, avoid camera shake)
- Aperture: f/4–f/5.6 (shallow depth of field isolates subject from background)
- ISO: 200–800 (lower in good light, minimize noise)
- Autofocus: Single-point (precise focus on eyes)
Why these settings: You have time. Use it to create beautiful isolation and sharp focus.
For Golden Hour (Sunrise, Sunset, Magic Hour)
- Shutter speed: 1/500–1/1000 (maintain speed despite lower light)
- Aperture: f/2.8–f/5.6 (let light in, create dreamy bokeh)
- ISO: 1600–3200 (embrace it; golden hour light forgives grain)
- Manual focus: Often better than autofocus in warm, low light
Why these settings: Golden light is magic. Prioritize capturing the light over technical perfection.
Composition: Beyond Gear
Rule of Thirds Imagine a grid dividing your frame into thirds (both horizontally and vertically). Place subjects on these lines or intersections, not centered.
Why? Creates tension, interest, natural flow.
Negative Space Leave space in the direction your subject is looking or moving.
Why? Gives your subject somewhere to "go." Creates narrative.
Leading Lines Use riverbanks, paths, tree lines to draw viewers' eyes through the frame toward your subject.
Why? Creates depth and guides attention.
Bokeh (Background Blur) Use shallow depth of field (wide aperture like f/2.8) to blur distracting background.
Why? Subject stands out. Environment context disappears.
Eyes In wildlife photography, the eye is everything. Sharp eyes, soft body = compelling image. Sharp body, soft eyes = failure.
Silhouettes Photograph subjects against bright sky/water to create dramatic shapes.
Why? Eliminates detail, emphasizes form. Uniquely powerful.
Light: Everything Depends on It
Golden Hour (First 2 Hours After Sunrise, Last 2 Hours Before Sunset) - Warm color temperature - Low angle creates dimension and shadow - Perfect for environmental portraits (animal in landscape context) - Best for emotional photographs
Harsh Midday Light (9 AM–4 PM) - Contrasty, unflattering - Creates harsh shadows on faces - Challenges for wildlife detail - Use it for silhouettes instead
Overcast Light - Soft, diffused, forgiving - No shadows, great for wildlife behavior detail - Less dramatic, but technically easier - Best for identification photography
Blue Hour (Dusk After Sunset, Before Full Dark) - Moody, theatrical - Requires high ISO and slow shutter (tripod essential) - Unique opportunities for nocturnal animals - Avoid unless you're prepared for challenging settings
Tip from guide: Polite points out that the best light isn't always the most beautiful. "Harsh midday light shows animal detail perfectly. Golden hour is pretty, but overcast is technically best for behavior documentation."
Anticipating Animal Behavior
This is where photography separates from snapshot-taking.
Before an animal acts, telegraphs its intention.
A lion shifts weight—about to stand or run. A leopard's ears swivel—about to hunt. A bird's throat swells—about to call.
Learn the signs. Position yourself. Pre-frame your shot. Wait for the moment.
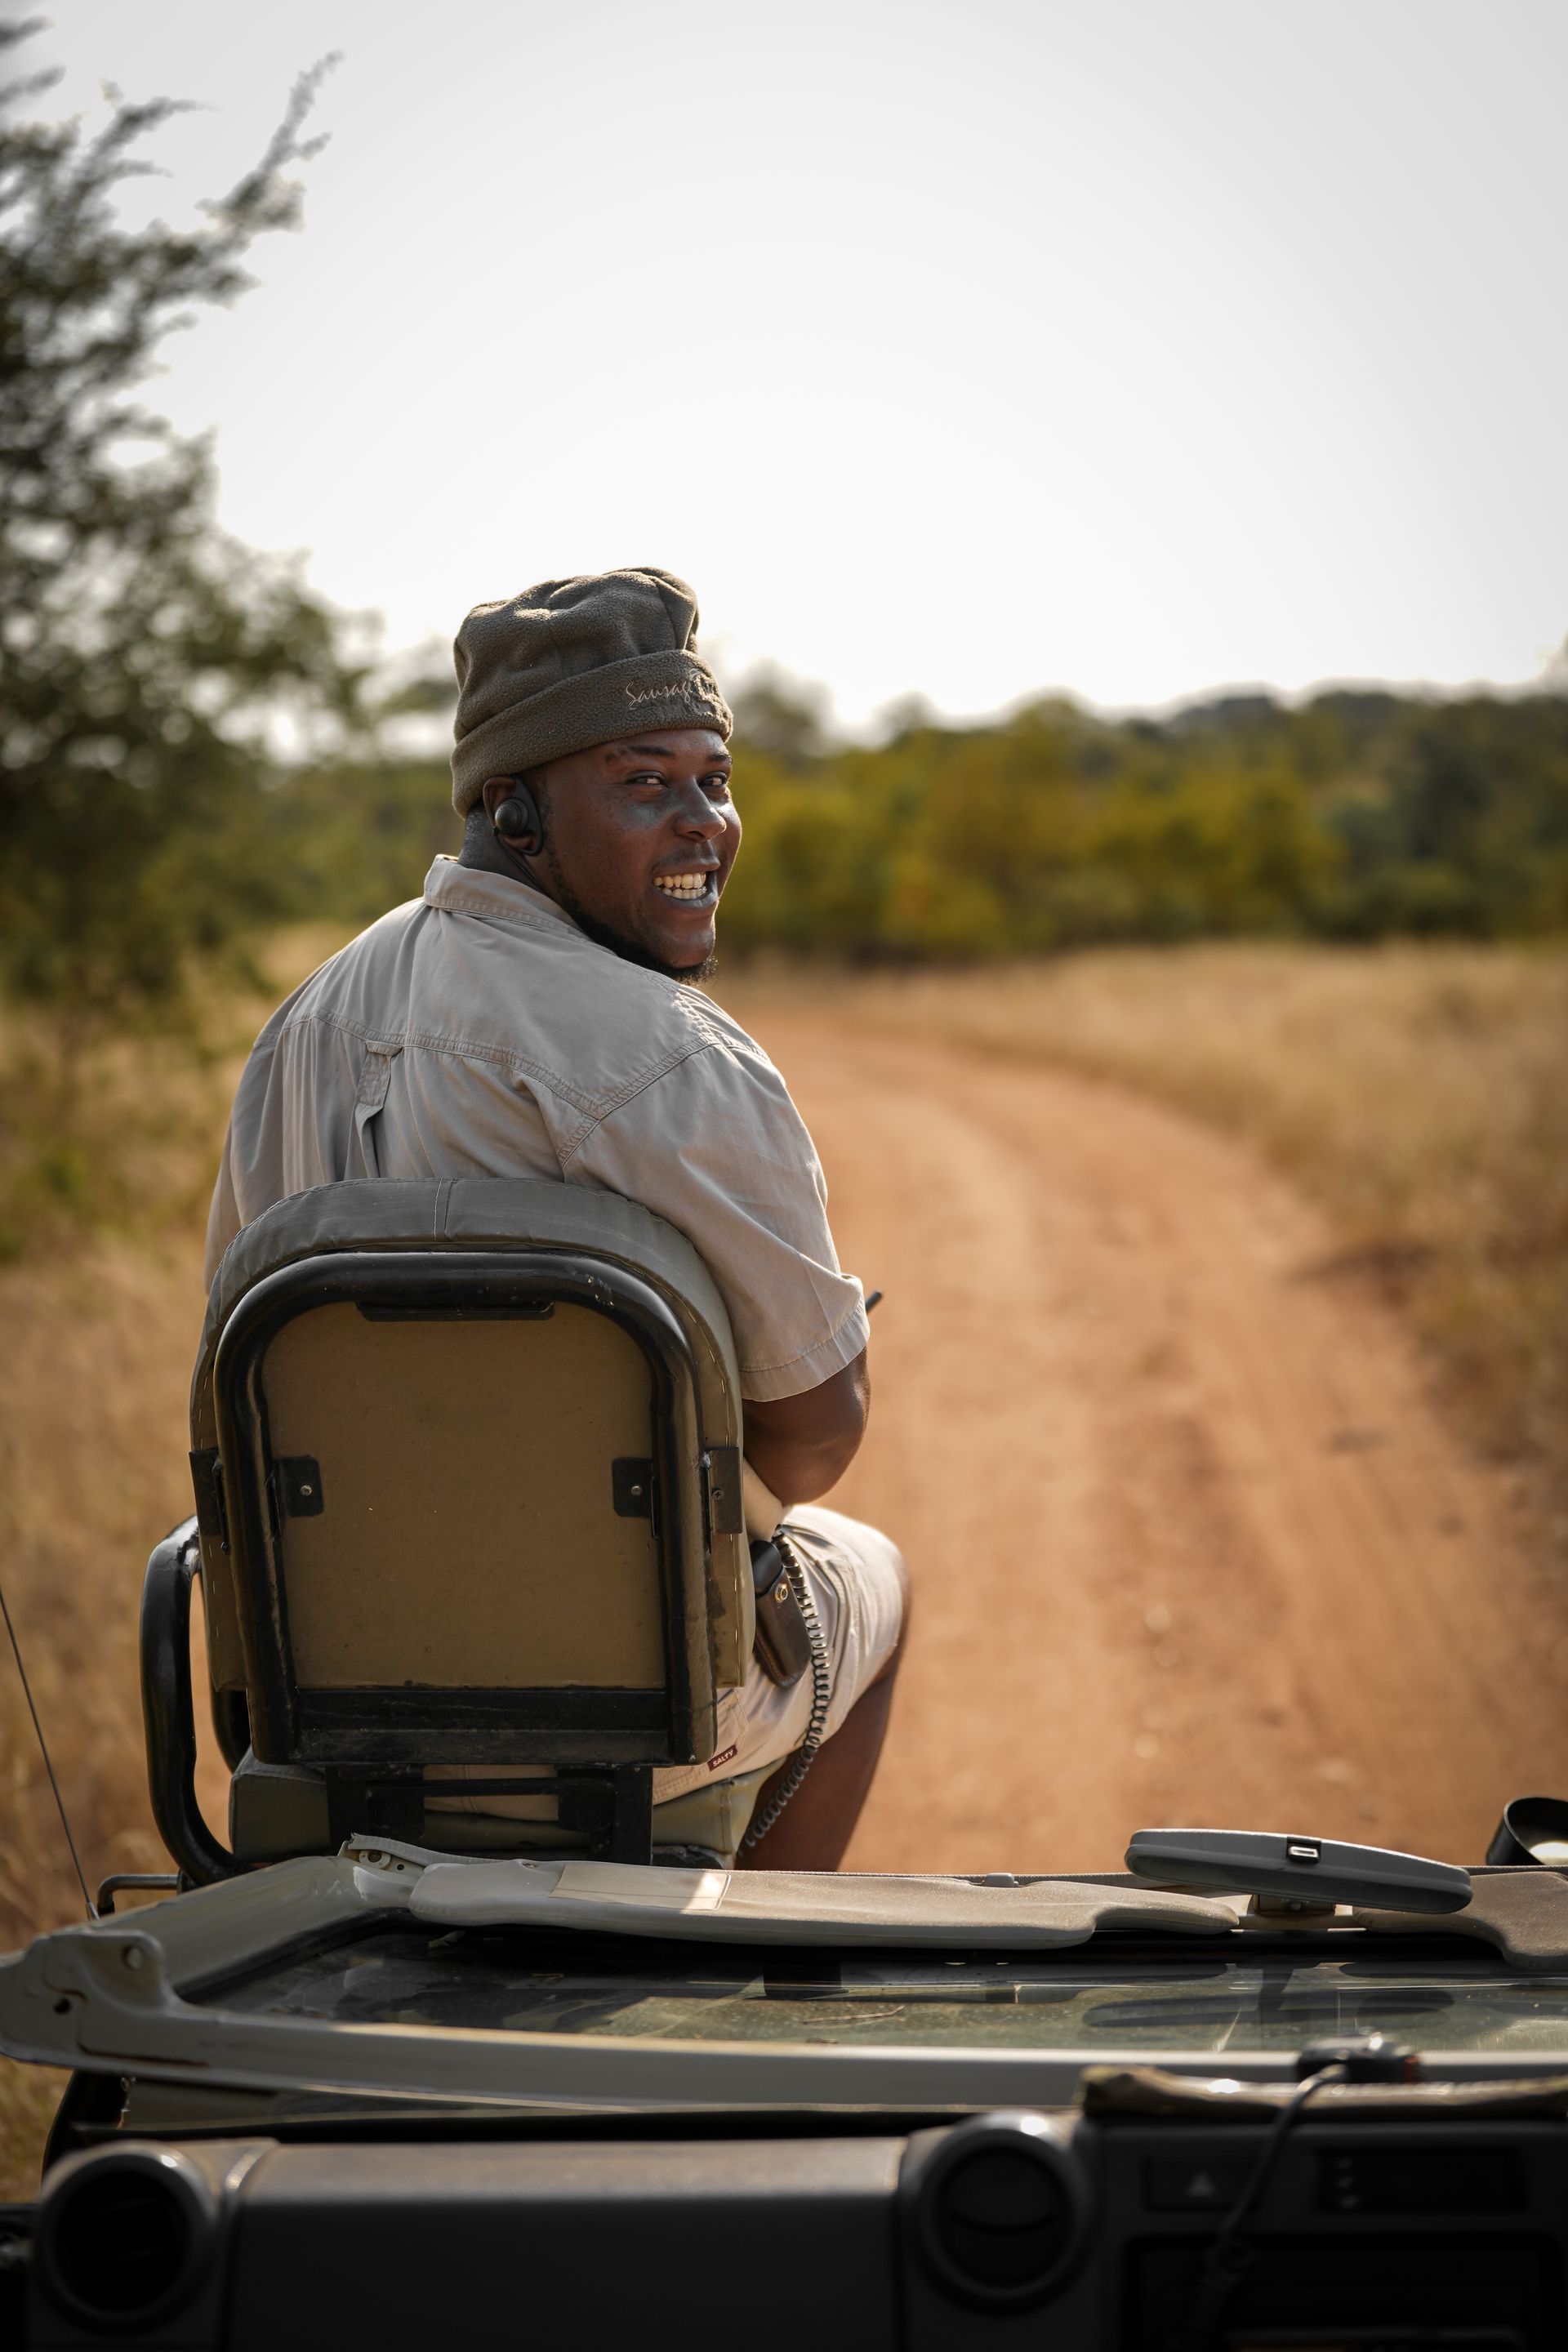
This is why guides matter so much. Our guides know behavior patterns developed over thousands of hours in the bush. They position you before the action, not after.
Themba says: "I can read a lion's movement. I know when it's about to run. So I position our vehicle where you'll have the shot before the lion even moves."
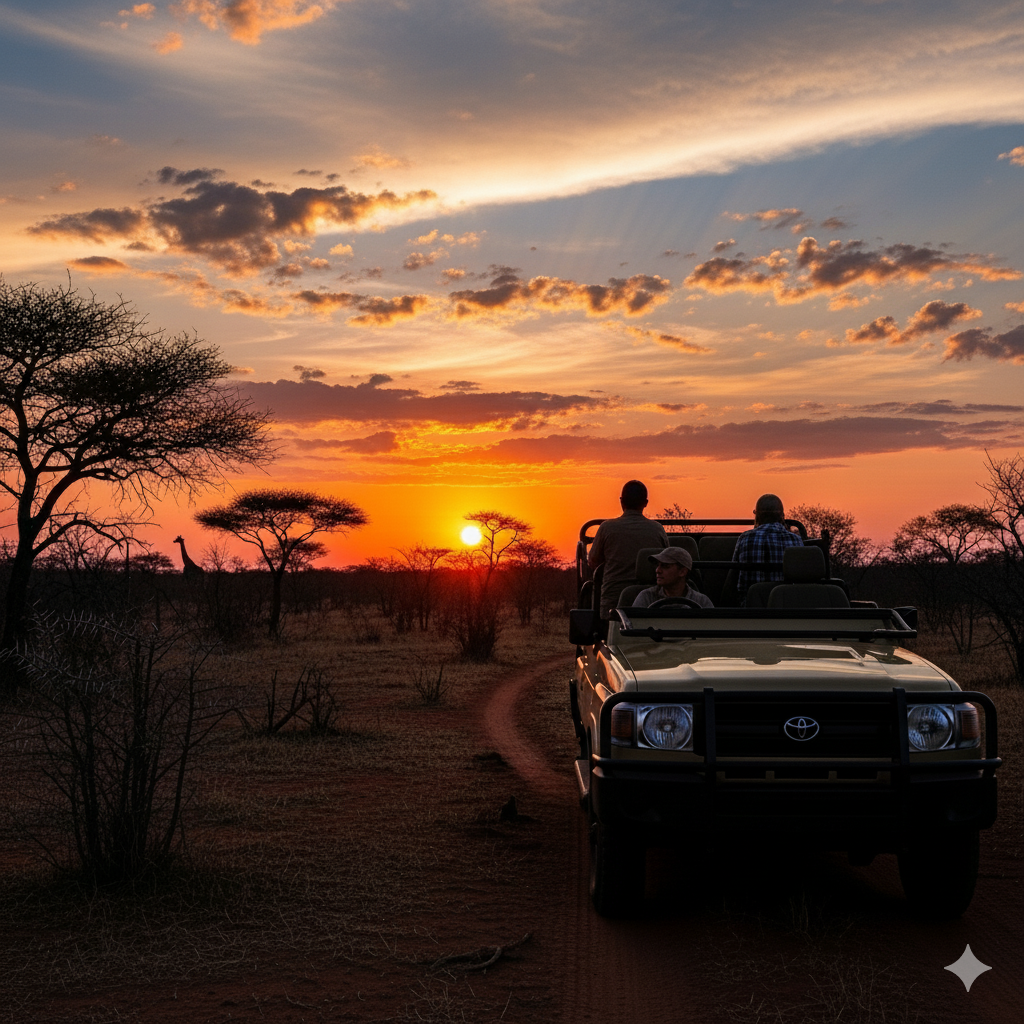
Vehicle Positioning: Why It Matters
You can't move the vehicle during moments. You're committed to your angle.
Guides position vehicles based on: - Light direction (sun position relative to subject) - Wind (scent direction, animal alert status) - Sight lines (other vehicles, vegetation, water) - Escape routes (if animal feels threatened, which way will it move?)
Bad positioning = photo of animal's rear as it flees. Good positioning = profile, behavior detail, natural light.
Pro tip from Mike Dexter , our professional photographer: "Communicate with your guide. Tell them what angle you want. Good guides will reposition for your shot. We're partners in creating the image."
The Professional Photographer Option
Mike Dexter, an award-winning wildlife photographer, is available, subject to prior notice and confirmation, to join your game drives.
What he does: - Demonstrates composition and settings in real-time - Teaches you to see behavior before it happens - Positions you for your best shots while taking his own - Edits and shares group photos
Cost: Negotiable based on group size and number of drives
Why it matters: You're learning from someone who's spent a career mastering this. The education is worth the investment for serious photographers.
Post-Processing: The Honest Truth
Your camera captures what you point it at. Post-processing makes it beautiful.
Essential edits: - Exposure correction (brighten shadows, control highlights) - Contrast and clarity (make details pop) - White balance (warm up golden hour, cool down harsh light) - Saturation (enhance colors authentically) - Crop and straighten (fix composition in-post)
Overprocessing is obvious. Enhance. Don't fake. Wildlife photography is about documenting nature, not creating fantasy.
Recommended software: Lightroom (industry standard, intuitive), Capture One (professional-grade, steeper learning curve).
Ethical Photography: The Standard
- Maintain distance (don't stress animals for a shot)
- Avoid flash (frightens animals, unnatural light)
- Respect breeding birds (don't approach nests)
- Move slowly (rapid movement alerts animals)
Great wildlife photographers are great because they respect the animals they photograph.
Sharing Your Work
Once you've captured amazing images, what next?
Social media: Instagram, Facebook—reach people who care about wildlife.
Photography contests: Submit your best work. Recognition is motivating.
Printing: Frame your favorites. Physical prints are magic.
Giving back: Consider donating images to conservation organizations. Your photos document wildlife that guides need protecting.
Ready to Photograph Your Safari?
ENQUIRE NOW and mention photography interests.
Want professional guidance? Request Mike Dexter for photography-focused game drives.
Have gear questions? CONTACT US and we'll discuss what to bring.
Looking for other guides? Check Packing Checklist (gear recommendations), Best Time to Visit (light quality by season), or Birding Guide (composition opportunities).
Author Bio
James Carne has watched photographers arrive with expensive gear and leave frustrated. He's also watched photographers arrive with smartphones and leave amazed. What matters isn't the equipment—it's the intention and the understanding that wildlife photography is about respect, not conquest.
Every R50 from your booking supports Daktari Bush School, which teaches children that African wildlife is worth protecting.
Ready to capture your safari?
Book your photography safari or
arrange a photography-focused game drive.